How to Make a Five-Pointed Paper Snowflake
2 of 4 in Series: The Essentials of Making Paper Snowflakes
Folding and cutting paper snowflakes is a common holiday craft idea that everyone, young and old, can enjoy. Creating a paper snowflake with an even number of sides is fairly easy, but you can really impress your friends and family by creating a five-pointed snowflake. Here's how you do it:
|
1
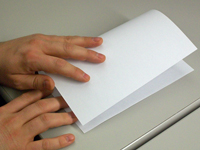
Starting with a standard 8.5 x 11-inch sheet of paper arranged horizontally in front of you, fold the left half over the right half and crease.
Most paper snowflakes start with a square piece of paper; not so with this one!
|
2
Once again, fold the left half over the right half, but only make a small crease along the top and then unfold it.
This small crease marks the center of the top edge.
|
3
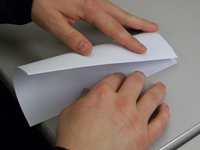
With the fold on your left, fold the bottom left corner up to the crease in the center of the top edge.
Let's call the edge that goes from the (new) bottom right corner up to the center Edge A.
|
|
4
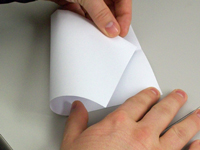
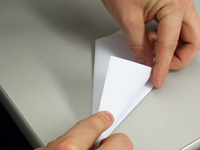
Fold the bottom edge (which is now slanted) up and over so that it lines up with Edge A.
You now have a sort of ice-cream-cone shaped piece with an extra triangle hanging of the side.
|
5
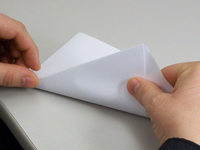
Flip the paper over and fold that extra triangle back over the nearest edge.
The edges ought to line up perfectly.
|
6
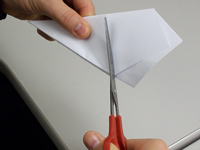
Cut off the top along the edge of that triangle you just folded back that doesn't line up with any other edge.
You should now have a right triangle.
|
|
7
Cut shapes into the edges.
Keep in mind that the bottom point is the middle of your snowflake.
|
8
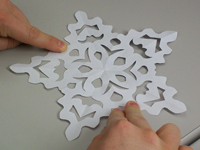
Unfold and display.
With a little experimentation, you can figure out how to create some really intricate designs.
|
Interesting days
Wednesday - Roots Day and Festivus
Next Tuesday - Tick Tock Day
January 22 - Answer Your Cat's Questions Day and Celebration Of Life Day



No comments:
Post a Comment